Multispectral imaging experiment #1
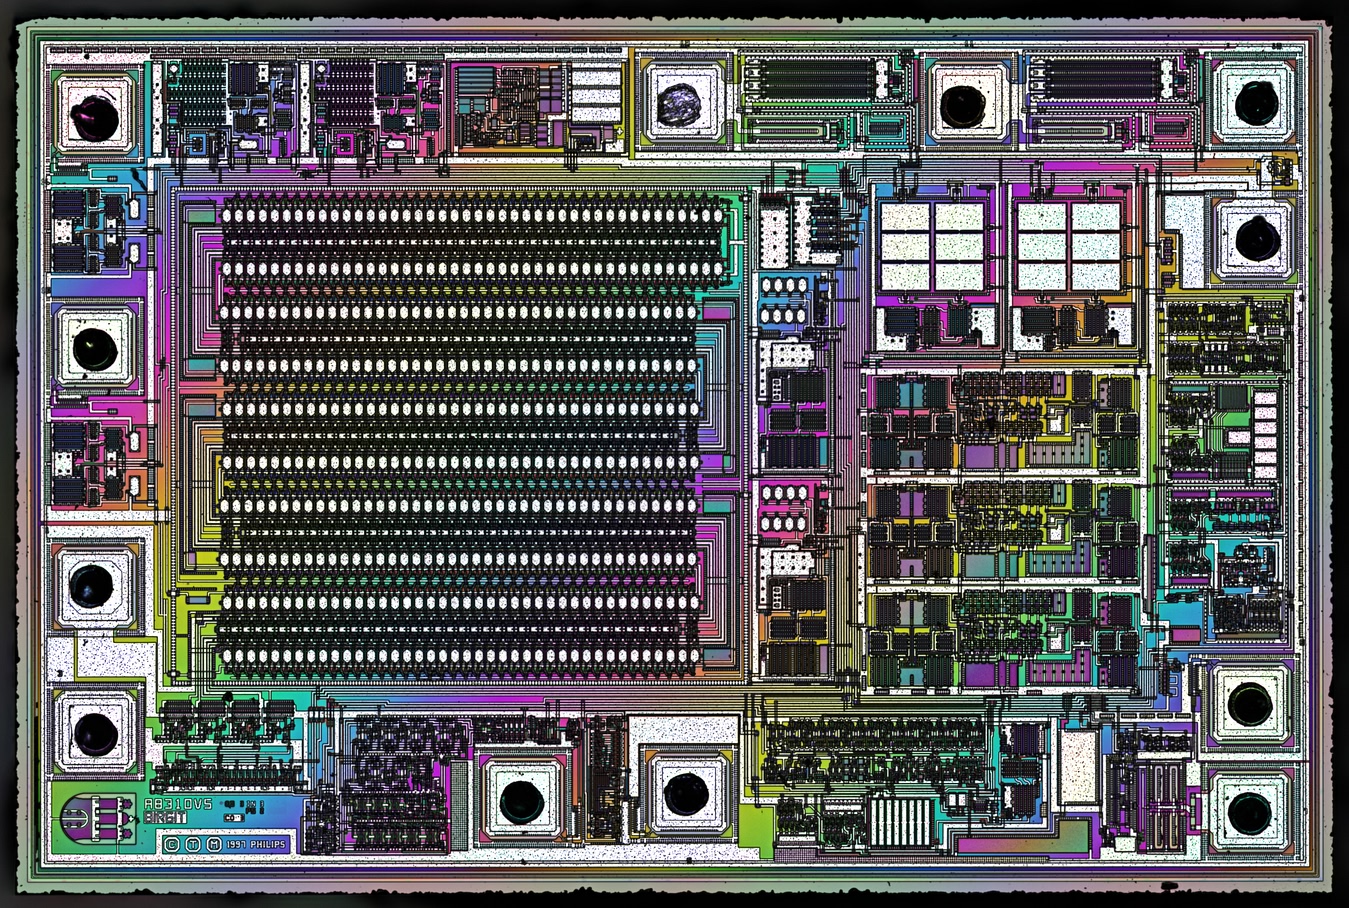
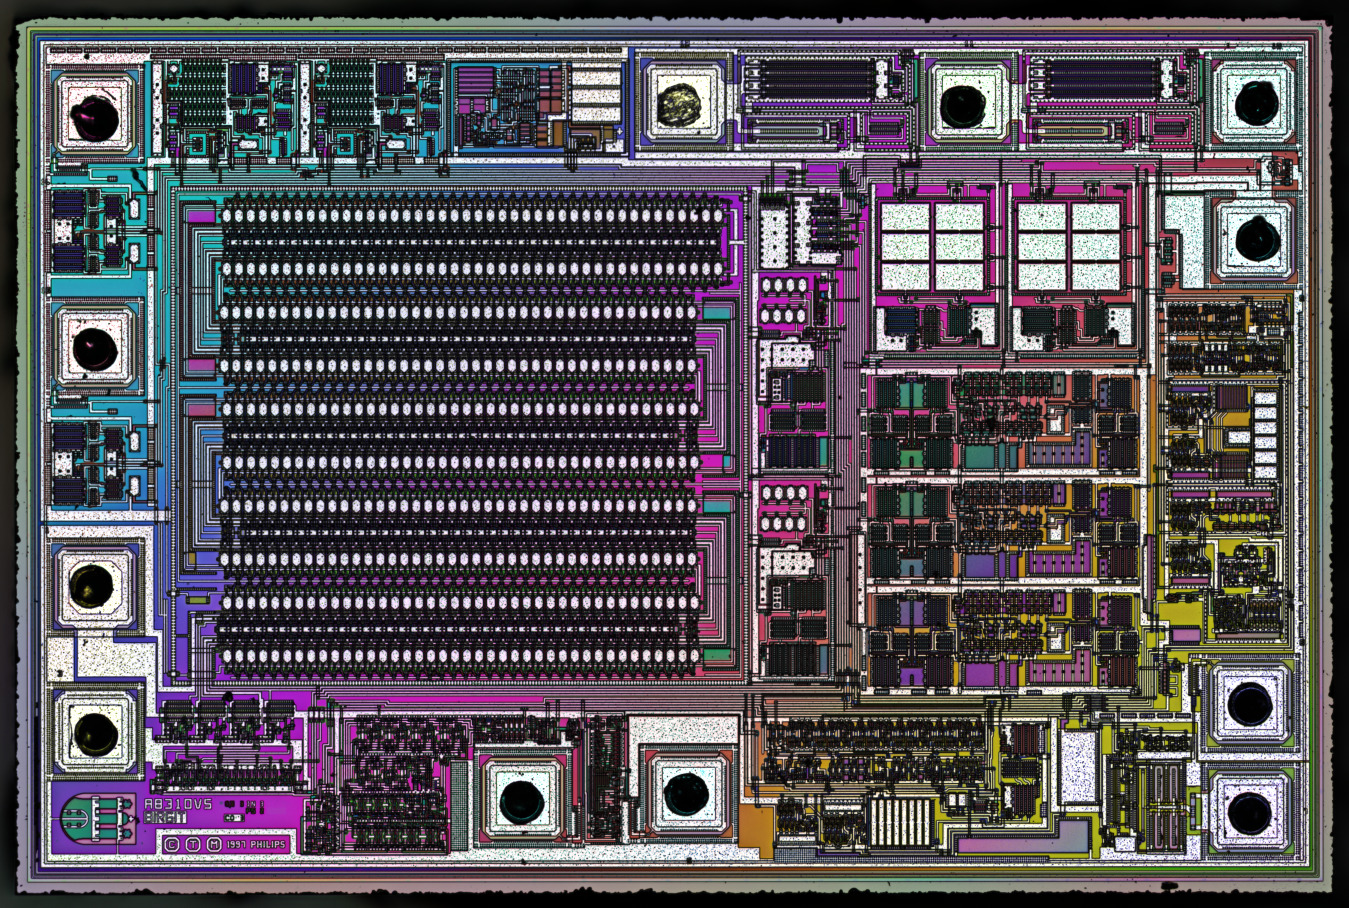
Philips TDA4665T - Multispectral rainbow composition
In this article, I will explain how I used MSI (multispectral imaging) to create such rainbow effect from a chip that was looking very bland under white light.
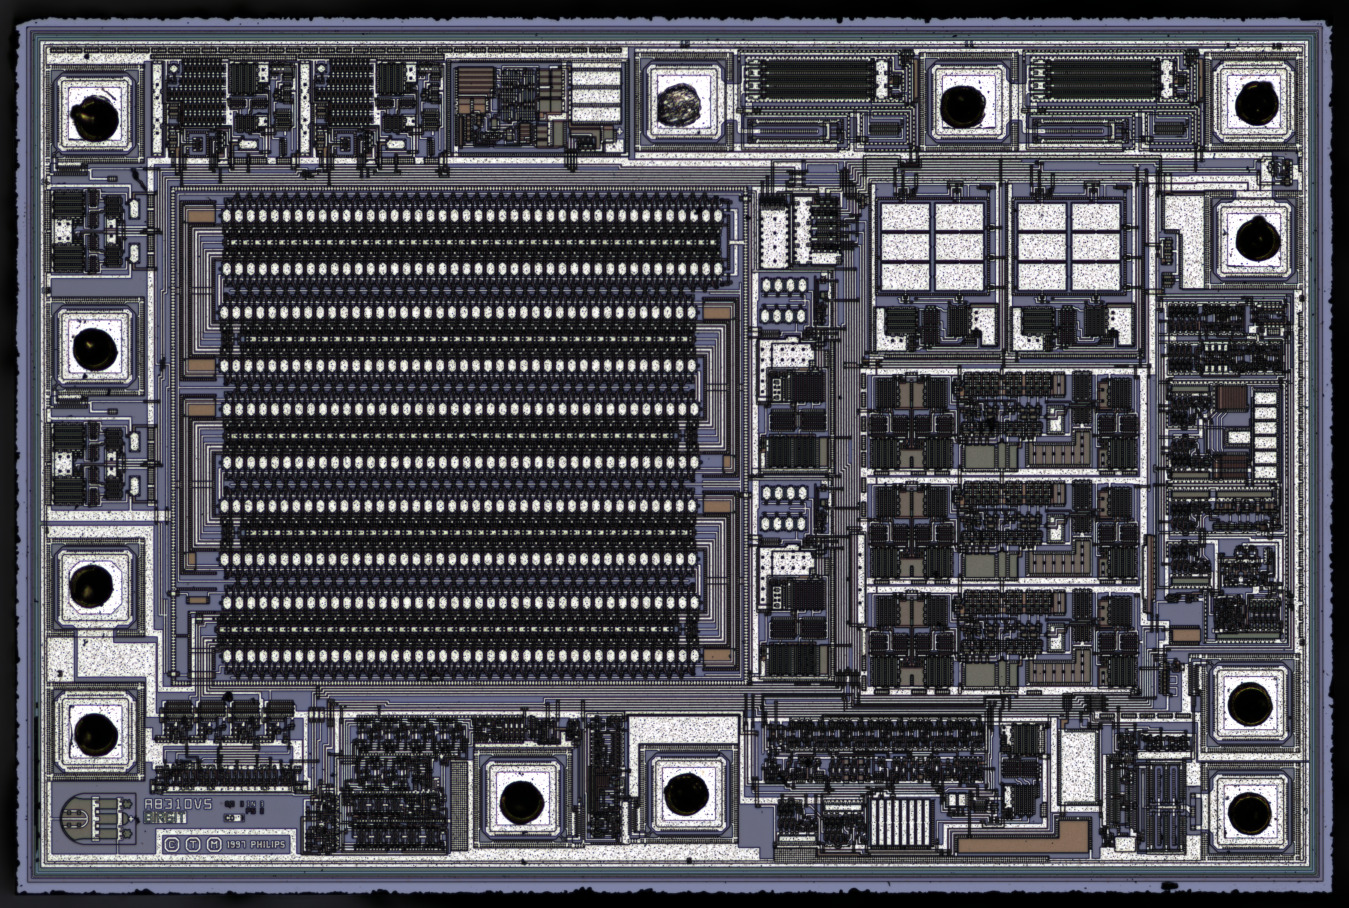
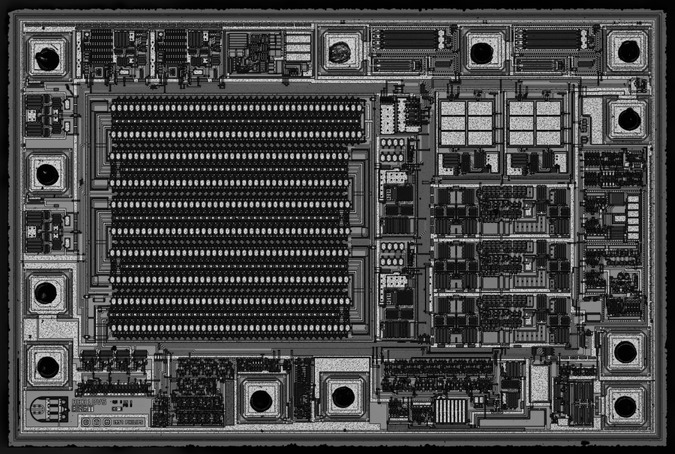
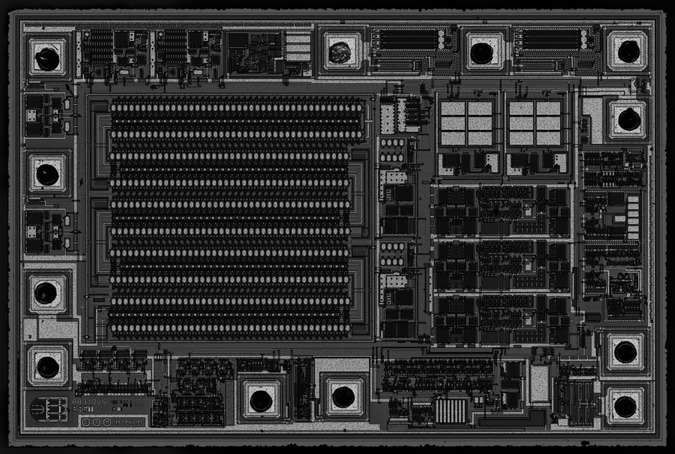
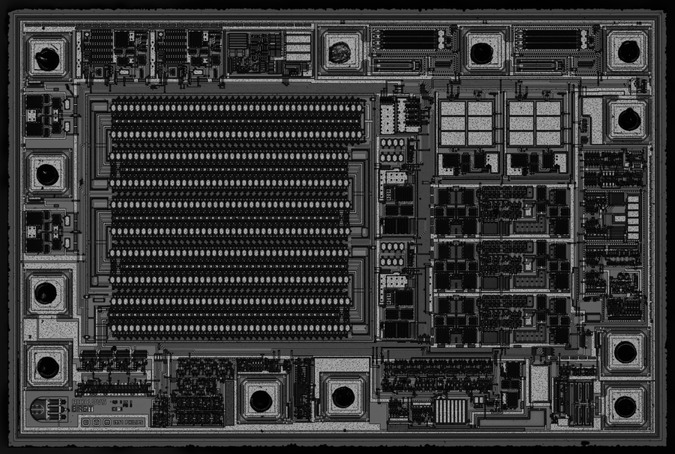
Philips TDA4665T - Cold white LED
MSI to colorful images
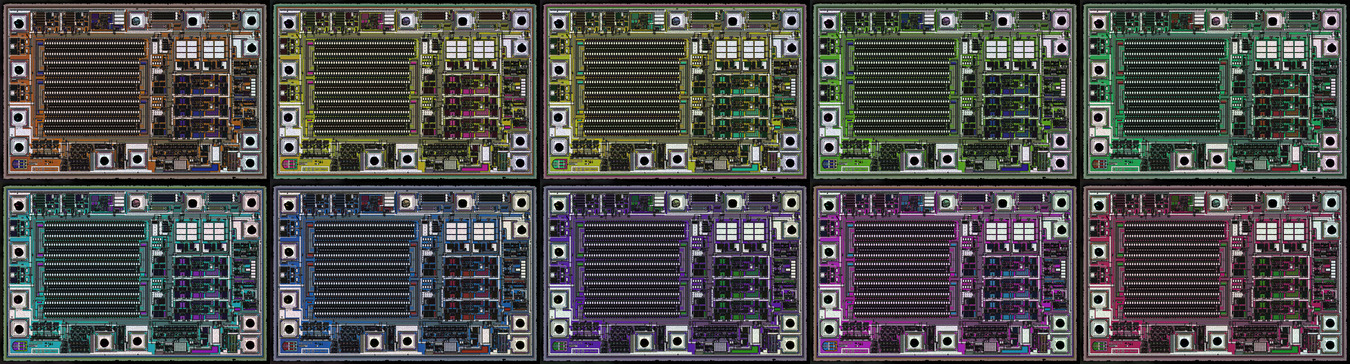
My multispectral light source has 7 narrow band wavelengths, visible here:


Combining these wavelengths randomly into RGB images will usually give boring colors.
Instead of trying way too many combinations manually, I let a python script do the job.
First I select 3 areas of interest:
- The primary color: for example the area around the small castle doodle
- The seconday color: like the long rectangle on the bottom right
- The white balance :like the 12 metal squares on the top right
The script try to maximize hue for the first ROI, hue distance between the first and second ROI, and the less saturation possible in the third ROI.
10 images are kept, sorted by hue.
Then they are blended together by a second script into a colorful image.
Blending direction can be tweaked to get more or less interesting results.
Without repeating the pattern
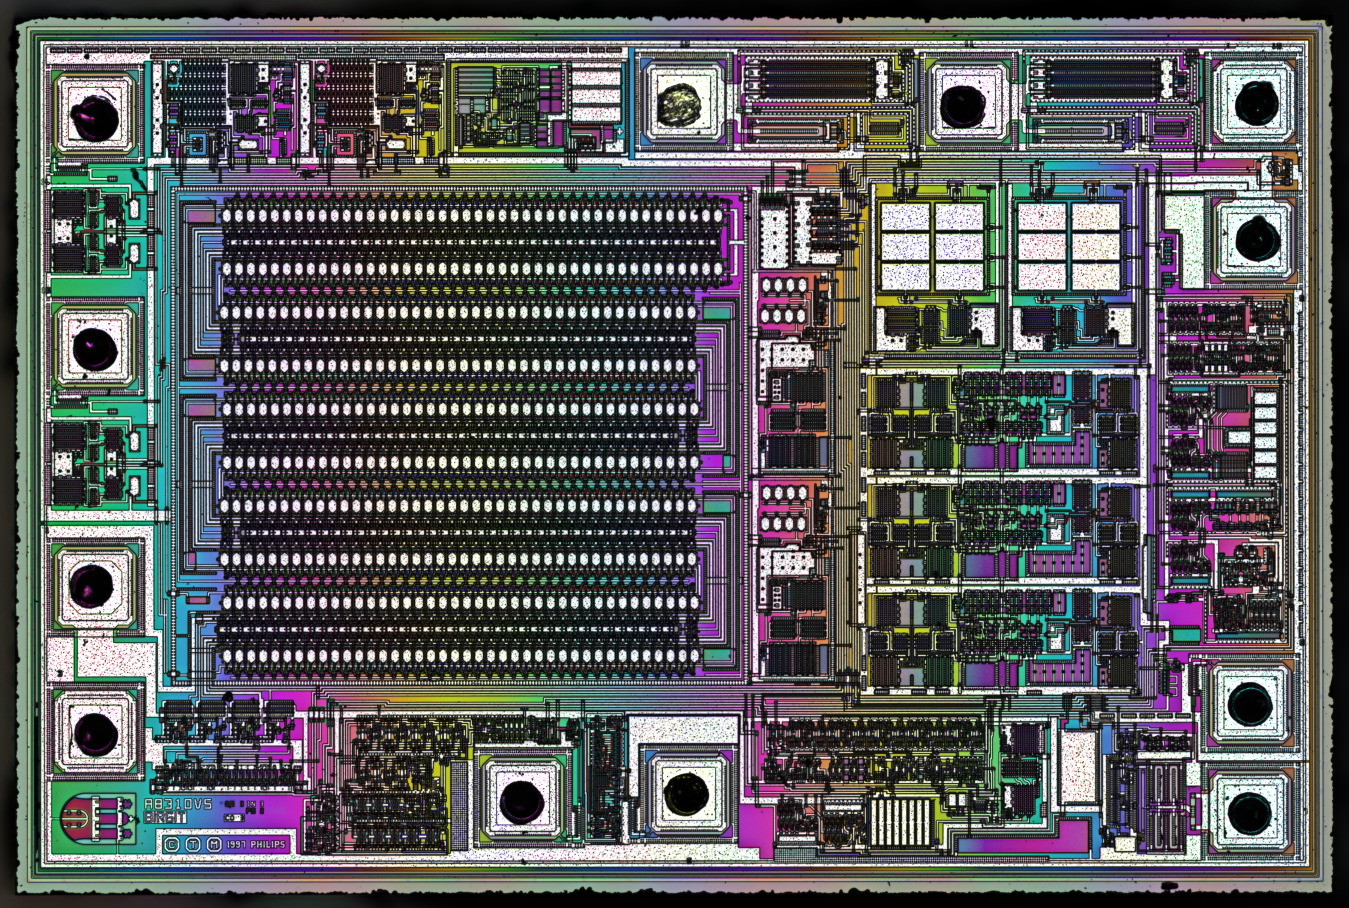
Horizontal blending
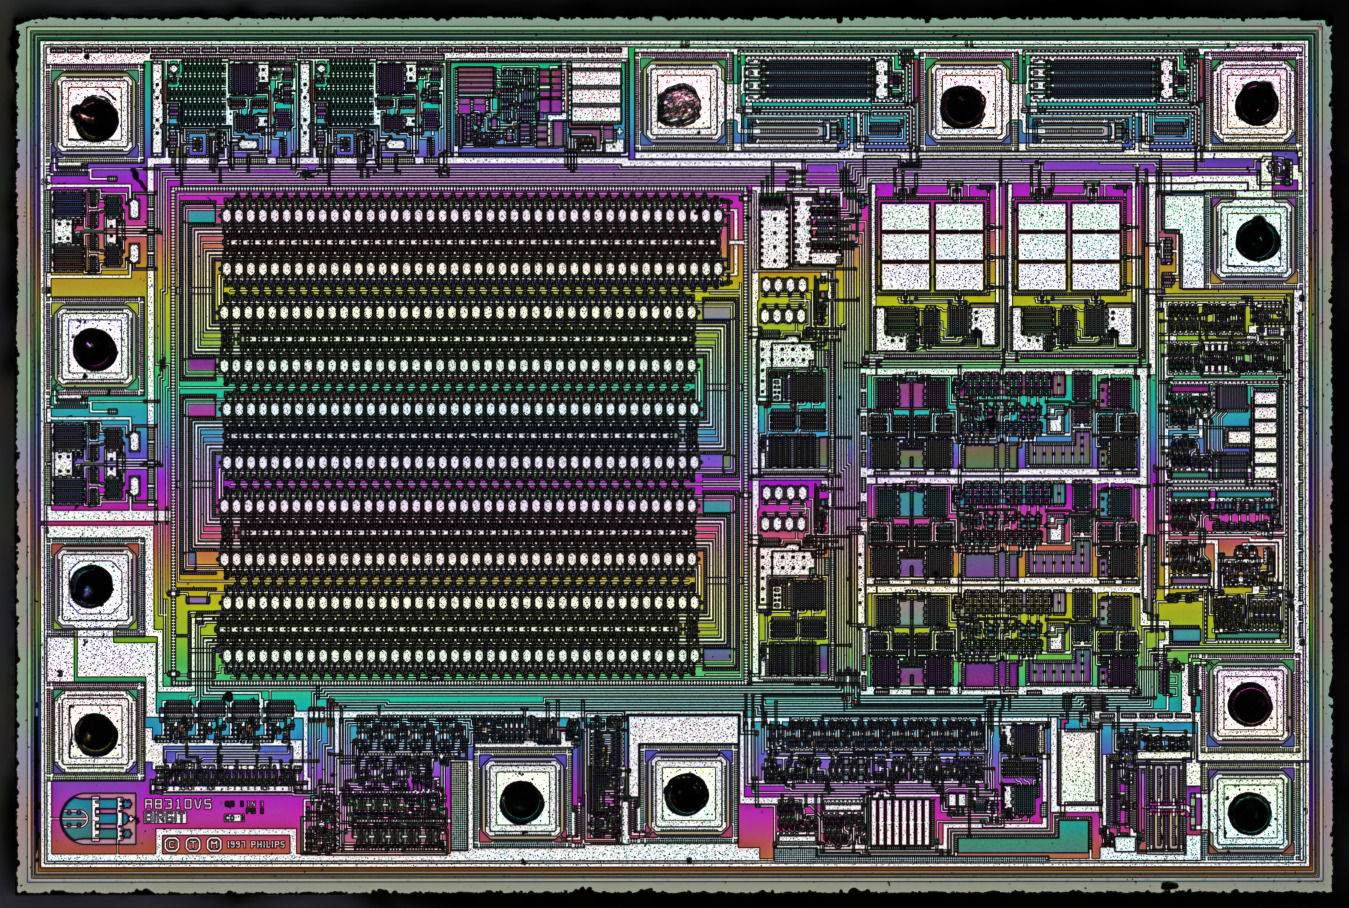
Vertical blending
In theory that would be possible to make any kind of patterns for color transitions. Even animations.
I’ll do more experiments and update this article if I find anything interesting.
MSI to animated loops
Animated rainbow effect.
A circular transition.