


Raspberry Pi based monochrome camera
If we try to look at the raw spectrum of a white light on a color camera, we can see something weird.
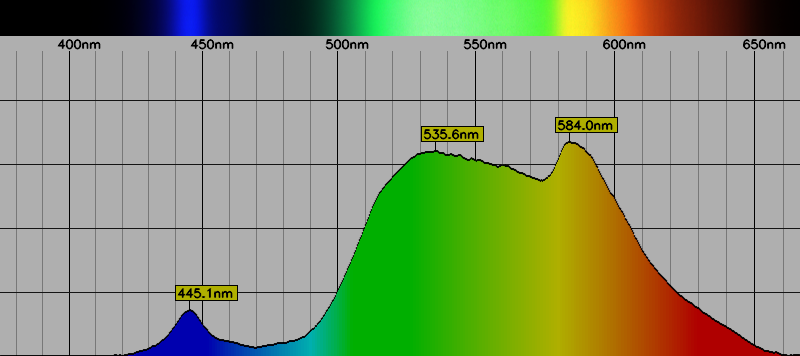
Cold white LED spectrum on the SC300 color camera
Because of the IR cut filter, it’s not a big surprize to see a low response on the reds.
We can also see the sensitivity is not uniform because of the bayer filter.
We definitively can remove the IR cut filter and adjust the exposure of the camera to compensate it’s non-uniform sensitivity (this will require some calibration).
If we want to image in the IR and UV, it’s easier to directly use a monochrome camera.
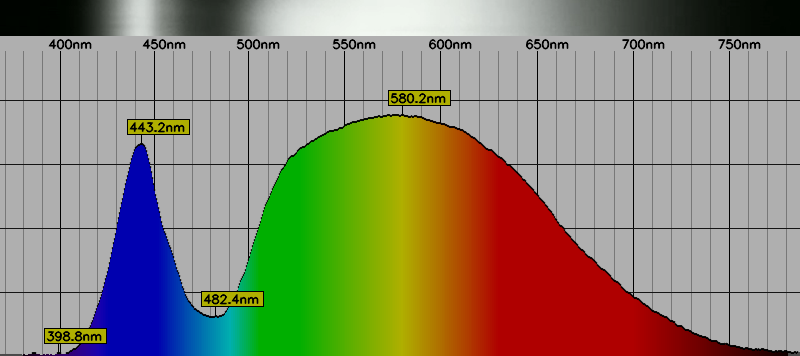
Cold white LED spectrum on the OV9281 monochrome camera
In this article, I will demonstrate the use of the InnoMaker OV9281 monochrome global shutter 1MP 1280x800@144fps camera.
This CSI camera is used with a raspberry pi and is quite cheap for a sensor of this type (35€ on amazon).
The IR cut filter is placed on the lens and can be easily removed.
OV9281 based camera
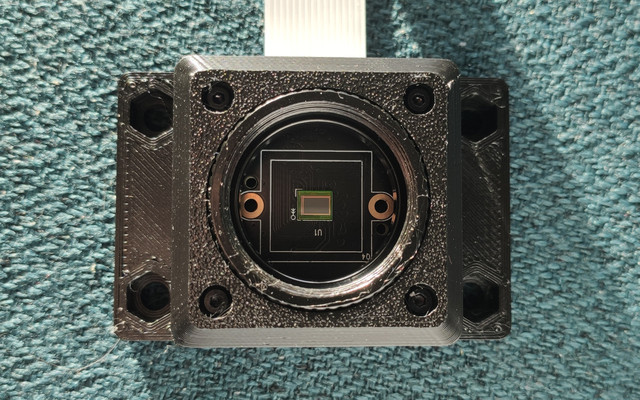
To build this camera you need:
- A 3d printer to make the case
- 2x 5mm C-CS adapters
- 4x M2x16mm screws
- 4x M4 nuts and screws to mount the camera
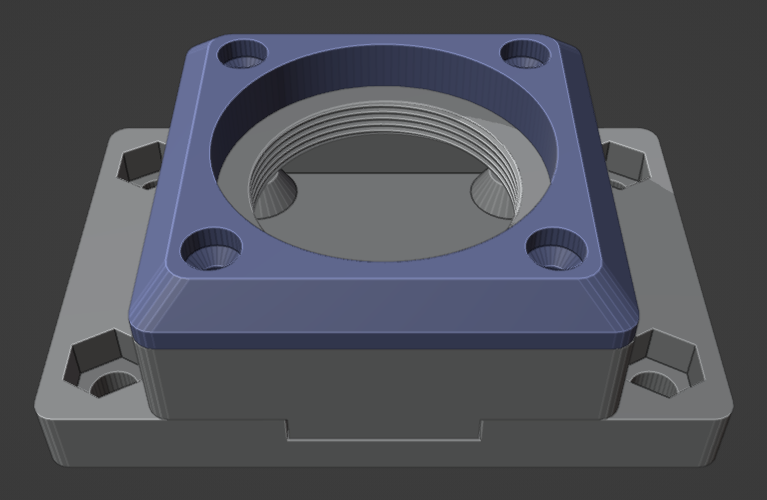
3D printed case
Download all stl files here and print one of each with 0.16mm layer height and enable External perimeters first if you use Prusa Slicer, especially if you want the right tolerances for the OV9281_thread.stl file.
Print OV9281_top.stl and OV9281_thread.stl upside down.
IMPORTANT: PLA and most plastic are transparent to IR. Use the camera in a controled environment or print using a black, CF filled filament.
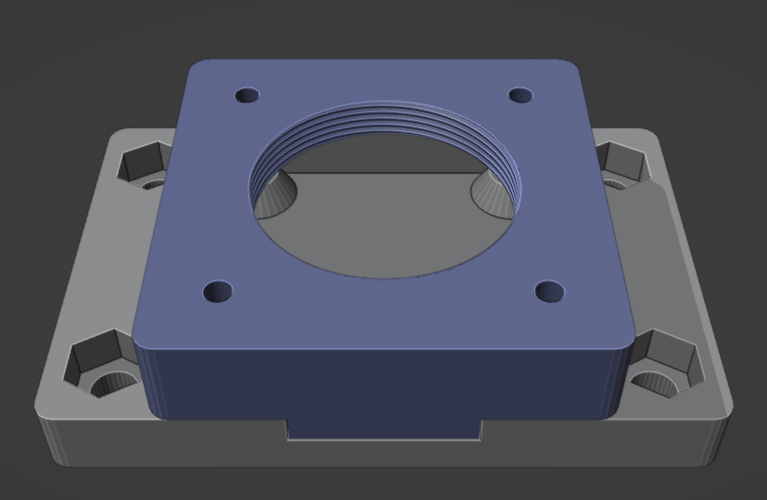
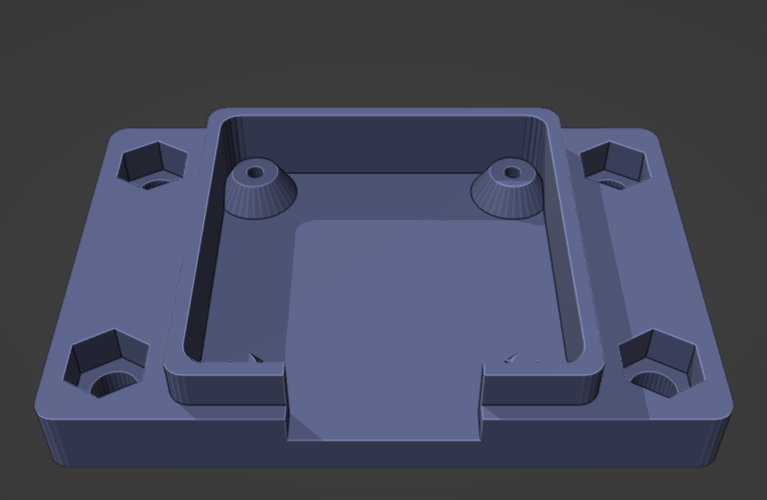
Remove the two screws on the back of the PCB to separate the camera lens assembly.
Place the ribbon on the camera’s PCB.
Place the PCB on OV9281_bottom.stl
The ribbon is facing the bottom, and the sensor is on the top.
Be careful to not touch the sensor.Screw a 5mm C-CS adapter on OV9281_thread.stl
Optionally you can use cyanoacrylate glue on the thread to permanently mount the metal thread part.Mount OV9281_thread.stl on the OV9281_bottom.stl part.
Add OV9281_top.stl and use the M2x16mm to maintain everything.
Optionally, screw a C-Mount cap or mount a lens on the camera.
For C-Mount you have to screw a second 5mm C-CS adapter on the camera. For CS-Mount you don’t need anything else.
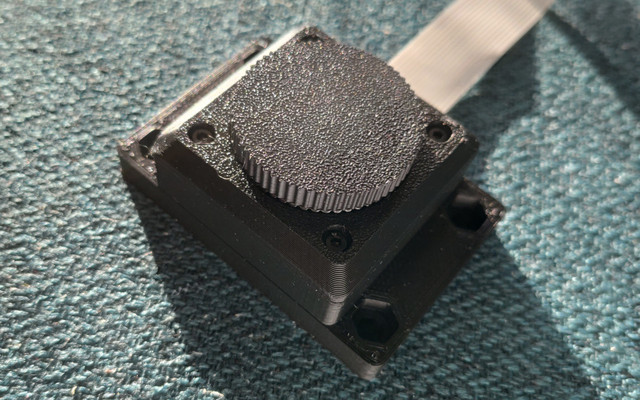
3D printed quick release support for Raspberry Pi 3
Todo
Configure the camera on the Raspberry Pi
Follow the instructions from the official manual.
Here a snippet from the documentation:
git clone https://github.com/INNO-MAKER/CAM-OV9281RAW-V2.git
cd CAM-OV9281RAW-V2
sudo chmod -R a+rwx *
./autoinstall_driver.sh
Reboot. Now /dev/video0 should be ready to use.
For a manual installation of the driver, refer to page 14.
To use a different mode, refer to page 18.
Stream from Ethernet
First connect the PC to the raspberry pi and share the connection with it.
As indicated find the ip of your raspberry pi with:
nmap -sn 10.42.0.0/24 | grep reportUse ssh to connect to your raspberry pi.
Server side
libcamera-vid -t 0 --width 1280 --height 800 --framerate 30 --shutter 100 --gain 1.0 --denoise off --inline -o - | gst-launch-1.0 fdsrc ! h264parse ! rtph264pay config-interval=1 pt=96 ! udpsink host=192.168.119.25 port=8554Important: you have to specify width and height or libcamera-vid may use another resolution randomly.
Change the host ip according to the results of ifconfig on your computer.
Client side
Create a V4L2 loopback device:
sudo modprobe v4l2loopbackStream the video into the loopback device:
gst-launch-1.0 udpsrc port=8554 caps="application/x-rtp, media=(string)video, encoding-name=(string)H264, payload=(int)96, clock-rate=(int)90000" \
! rtph264depay ! avdec_h264 ! videoconvert ! videoscale \
! "video/x-raw,format=YUY2,width=800,height=600,framerate=30/1" \
! tee ! v4l2sink device=/dev/video0
I resize the video to 800x600 to use it with PySpectrometer2.